

之前学习了Spring Cloud Config分布式配置中心,其中使用到Spring Cloud Config Server连接github,从而读取config repo中的配置信息。现作个笔记,以免忘记。好记性不如烂笔头嘛,好了,废话不多说,上代码。
使用用户名和密码连接
还是使用聚合工程
父工程的POM.xml依赖如下
<!--统一管理jar包和版本-->
  <properties>
    <project.build.sourceEncoding>UTF-8</project.build.sourceEncoding>
    <maven.compiler.source>1.8</maven.compiler.source>
    <maven.compiler.target>1.8</maven.compiler.target>
    <mybatis.spring.boot.verison>1.3.0</mybatis.spring.boot.verison>
    <log4j.version>1.2.17</log4j.version>
  </properties>
 <dependencyManagement>
    <dependencies>
      <!--Spring Boot 2.2.2-->
      <dependency>
        <groupId>org.springframework.boot</groupId>
        <artifactId>spring-boot-dependencies</artifactId>
        <version>2.2.2.RELEASE</version>
        <type>pom</type>
        <scope>import</scope>
      </dependency>
      <!--Spring Cloud Hoxton.SR1-->
      <dependency>
        <groupId>org.springframework.cloud</groupId>
        <artifactId>spring-cloud-dependencies</artifactId>
        <version>Hoxton.SR1</version>
        <type>pom</type>
        <scope>import</scope>
      </dependency>

      <!--log4j-->
      <dependency>
        <groupId>log4j</groupId>
        <artifactId>log4j</artifactId>
        <version>${log4j.version}</version>
      </dependency>
    </dependencies>
  </dependencyManagement>
子module pom.xml 依赖如下
<dependencies>

        <dependency>
            <groupId>org.springframework.cloud</groupId>
            <artifactId>spring-cloud-starter-bus-amqp</artifactId>
        </dependency>
        <dependency>
            <groupId>org.springframework.cloud</groupId>
            <artifactId>spring-cloud-config-server</artifactId>
        </dependency>
        <dependency>
            <groupId>org.springframework.boot</groupId>
            <artifactId>spring-boot-starter-web</artifactId>
        </dependency>
        <dependency>
            <groupId>org.springframework.boot</groupId>
            <artifactId>spring-boot-starter-actuator</artifactId>
        </dependency>
        <dependency>
            <groupId>org.springframework.cloud</groupId>
            <artifactId>spring-cloud-starter-netflix-eureka-client</artifactId>
        </dependency>
        <dependency>
            <groupId>org.springframework.boot</groupId>
            <artifactId>spring-boot-devtools</artifactId>
            <scope>runtime</scope>
            <optional>true</optional>
        </dependency>
        <dependency>
            <groupId>org.projectlombok</groupId>
            <artifactId>lombok</artifactId>
            <optional>true</optional>
        </dependency>
        <dependency>
            <groupId>org.springframework.boot</groupId>
            <artifactId>spring-boot-starter-test</artifactId>
            <scope>test</scope>
        </dependency>
    </dependencies>
主启动
@SpringBootApplication
@EnableConfigServer
public class ConfigCenterMain {

    public static void main(String[] args) {
        SpringApplication.run(ConfigCenterMain3344 .class,args);
    }
}
重点是配置文件 application.yml
server:
  port: 3344
spring:
  application:
    name: cloud-config-center
  rabbitmq:
    host: localhost
    username: guest
    password: guest
    port: 5672
  cloud:
    config:
      server:
        git:
          uri:  # Github上的仓库地址
          search-paths: # 搜索目录,即配置文件的目录
            - springcloud-config
          username: git用户名
          password: 密码
          label: master # 读取分支
management:
  endpoints:
    web:
      exposure:
        include: "bus-refresh"   # 暴露bus-refresh端口


eureka:
  client:
    service-url:
      defaultZone: http://localhost:8001/eureka/ ## 与Eureka Server交互的地址 查询、注册服务都需要这个地址
使用SSH方式连接
先本地生成ssh密钥对,打开git bash(需安装git客户端)
ssh-keygen -t rsa -C "522639332@qq.com"
输入上面的命令,回车 再回车,因为我之前生成过,他这里提示是否覆盖,然后输入验证密码,也可以为空,直接回车即可 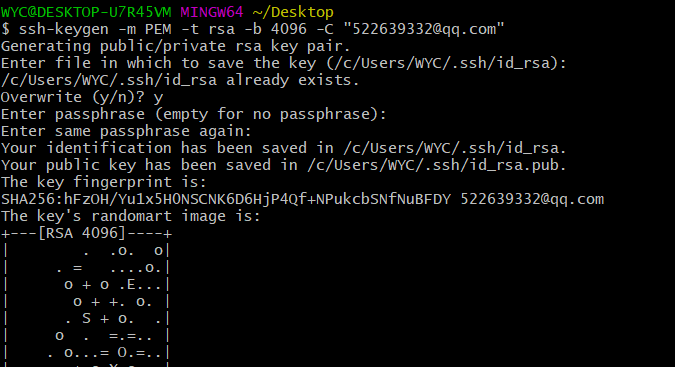
生成后打开保存的目录,可以看到有公钥和私钥,如下 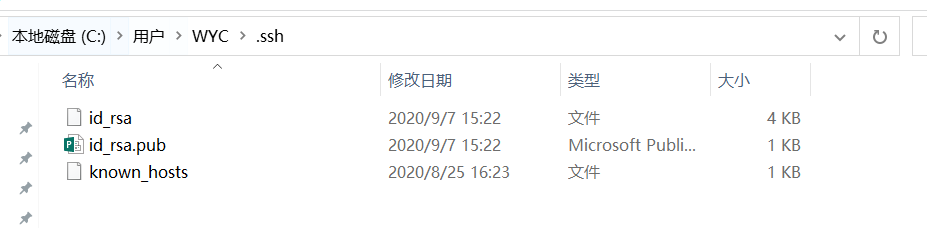 github添加SSH Key(公钥) 登录github后,进入github添加SSH Key地址 点击 New SSH Key
 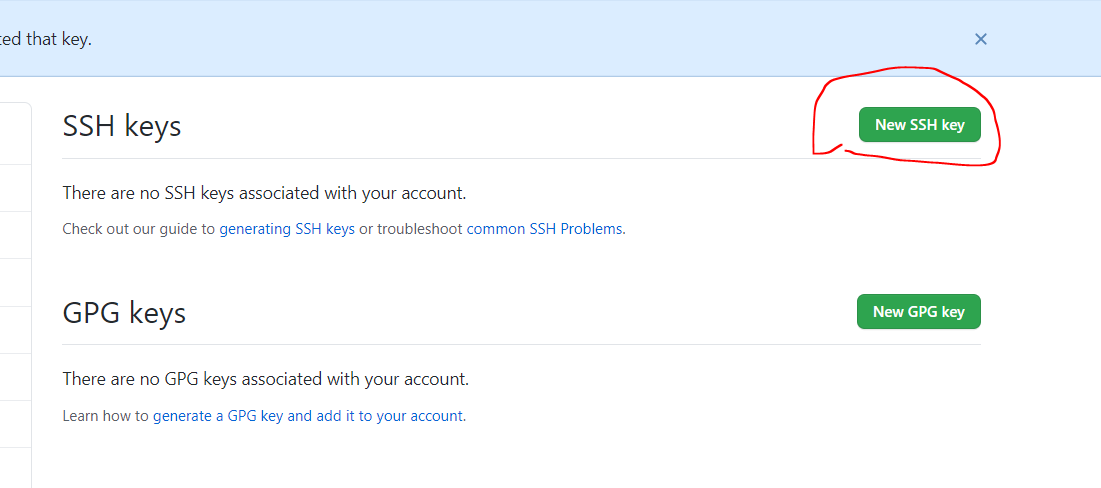 名称随便起,将公钥复制带key里面去
 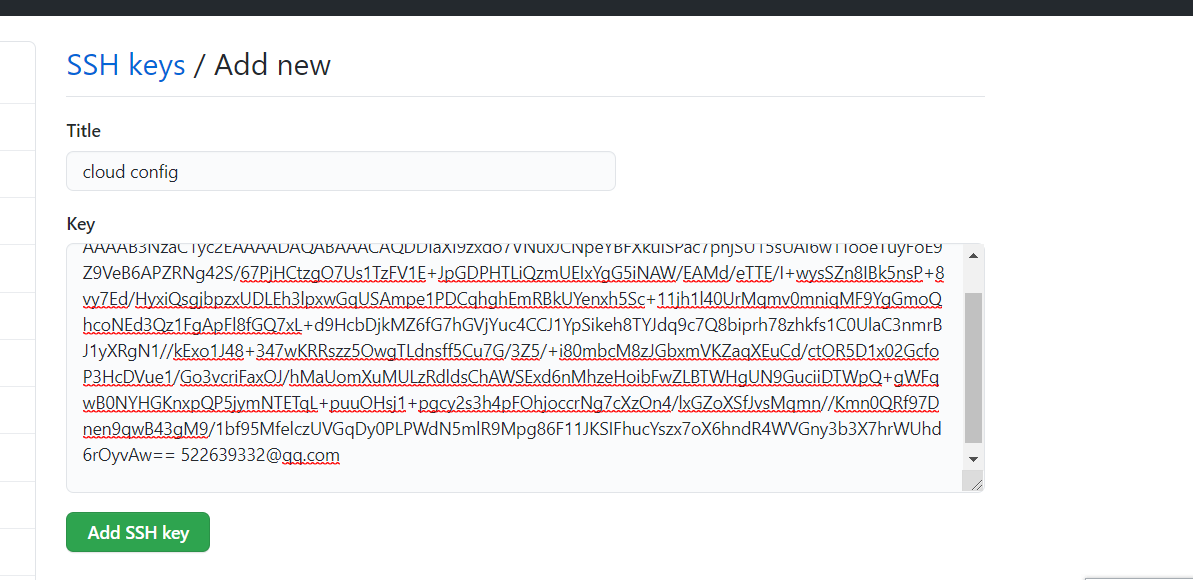 上面完成后,来看看项目的配置,application.yml
spring:
  cloud:
    config:
      server:
        git:
          uri: SSH链接地址
          ignore-local-ssh-settings: true #使用基于属性的SSH配置而不是基于文件的配置!
          private-key: |
                        -----BEGIN RSA PRIVATE KEY-----
                        密钥key
                        -----END RSA PRIVATE KEY-----
注:上面的uri连接地址就是github仓库上你放配置文件的SSH链接地址,如下 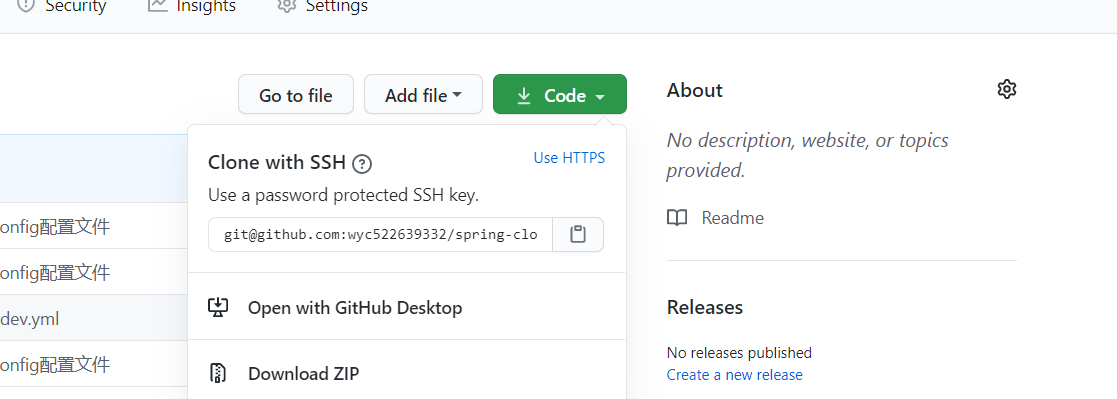
private-key格式: 注意必须有 | 和这个 还有-----BEGIN RSA PRIVATE KEY-----和 -----END RSA PRIVATE KEY-----也是密钥的一部分,我之前以为不是,删掉了,一直报错验证失败。 启动服务。 Spring Cloud Config 有固定访问规则,我们通过规则在浏览器上直接访问就可以。
/{application}/{profile}[/{label}]
/{application}-{profile}.yml
/{label}/{application}-{profile}.yml
/{application}-{profile}.properties
/{label}/{application}-{profile}.properties
{application} 就是应用名称,对应到配置文件上来,就是配置文件的名称部分,例如我上面创建的配置文件。
{profile} 就是配置文件的版本,我们的项目有开发版本、测试环境版本、生产环境版本,对应到配置文件上来就是以 application-{profile}.yml 加以区分,例如application-dev.yml、application-sit.yml、application-prod.yml。
{label} 表示 git 分支,默认是 master 分支,如果项目是以分支做区分也是可以的,那就可以通过不同的 label 来控制访问不同的配置文件了。
上面的 5 条规则中,我们只看前三条,因为我这里的配置文件都是 yml 格式的。根据这三条规则,我们可以通过以下地址查看配置文件内容: 访问 http://localhost:3344/master/config-dev.yml 


