

应用场景:不想直接用yum源安装,想用源码自定义安装路径,自定义编译nginx。或者是有兴趣体验和调研nginx的编译过程,都可以使用nginx源码来安装。
安装必要的包
yum install gcc gcc-c++ pcre pcre-devel zlib zlib-devel openssl* openssl-devel
如果必要的包不能通过yum源安装,请检查Linux网络配置
创建nginx用户
groupadd nginx
useradd -g nginx nginx
安装zlib
wget http://zlib.net/zlib-1.2.11.tar.gz
tar -zxvf zlib-1.2.11.tar.gz
cd zlib-1.2.11
./configure
make && make install
安装prce
wget https://netix.dl.sourceforge.net/project/pcre/pcre/8.43/pcre-8.43.tar.gz
tar -zxvf pcre-8.43.tar.gz
cd pcre-8.43
./configure
make && make install
安装openssl
wget https://www.openssl.org/source/openssl-1.1.1k.tar.gz
tar -zxf openssl-1.1.1k.tar.gz
cd openssl-1.1.1k
./config --prefix=/usr/local/ssl -d shared
make && make install
echo '/usr/local/ssl/lib' >> /etc/ld.so.conf
ldconfig -v
编译nginx
解压nginx
# 解压nginx-1.21.1.tar.gz
tar xzvf nginx-1.21.1.tar.gz
#创建软连接nginx
ln -s nginx-1.21.1 nginx
创建软连接
#文件路径:/data/applications
#nginx-1.21.1建立了一个软连接nginx

7月  20 17:20 nginx -> nginx-1.21.1
7月  20 17:36 nginx-1.21.1
7月  20 15:59 nginx-1.21.1.tar.gz
7月  20 17:31 openssl-1.1.1k
7月  20 15:59 openssl-1.1.1k.tar.gz
7月  20 17:32 pcre-8.43
7月  20 15:59 pcre-8.43.tar.gz
7月  20 17:32 zlib-1.2.11
7月  20 15:59 zlib-1.2.11.tar.gz
# 进入nginx文件夹
cd nginx
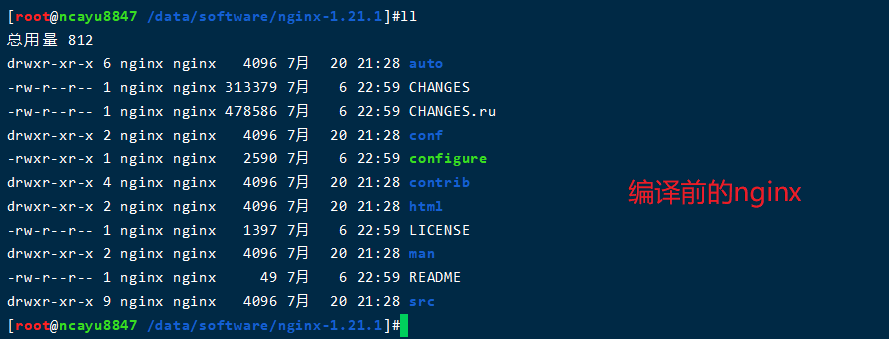
编译前的nginx文件
开始编译
#使用这些组件编译时,需要要注意实际的组件的路径

./configure --user=nginx --group=nginx \
--with-http_stub_status_module \
--with-http_gzip_static_module \
--with-http_realip_module \
--with-http_sub_module \
--with-http_ssl_module  \
--sbin-path=/data/applications/nginx \
--with-pcre=/data/applications/pcre-8.43 \
--with-zlib=/data/applications/zlib-1.2.11 \
--with-openssl=/data/applications/openssl-1.1.1k \
--with-http_v2_module \
--with-stream
添加了stream模块和 http_v2_module
make && make install
##运行上面的命令,等配置完就运行编译
##文件路径:/data/applications/nginx

make && make install
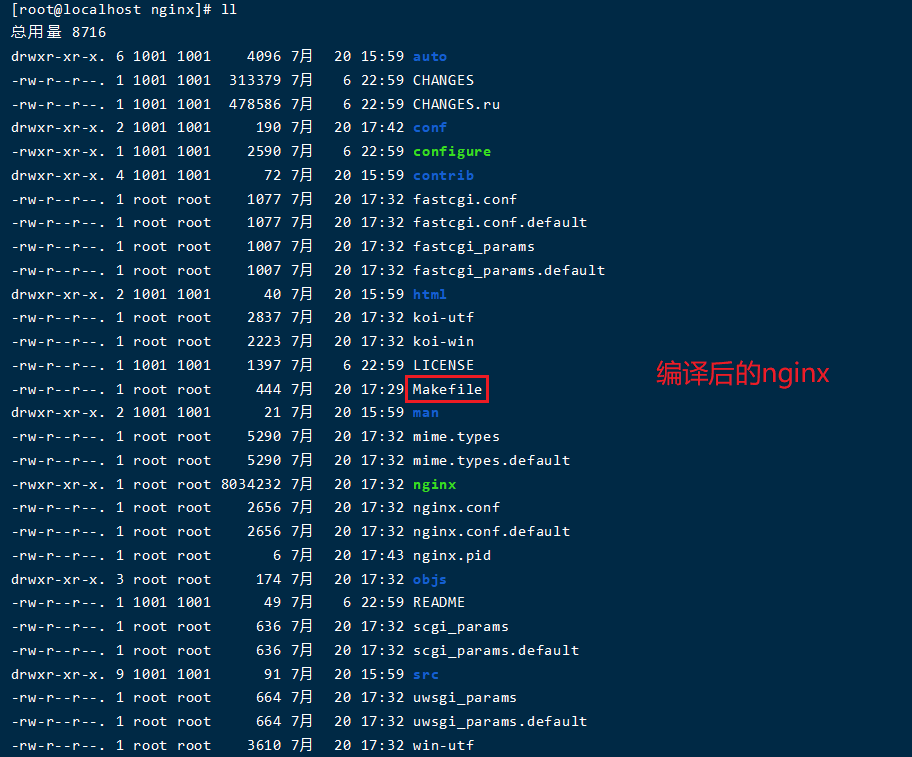
编译后的nginx
nginx 启动
#测试配置文件是否正确
./nginx -t -c /data/applications/nginx/nginx.conf
##验证示例
[root@ncayu8847 nginx]# ./nginx -t -c /data/applications/nginx/nginx.conf
nginx: the configuration file /data/applications/nginx/nginx.conf syntax is ok
nginx: configuration file /data/applications/nginx/nginx.conf test is successful
## 启动nginx
./nginx
## 停止nginx
./nginx -s stop
## 重启nginx
./nginx -s reload
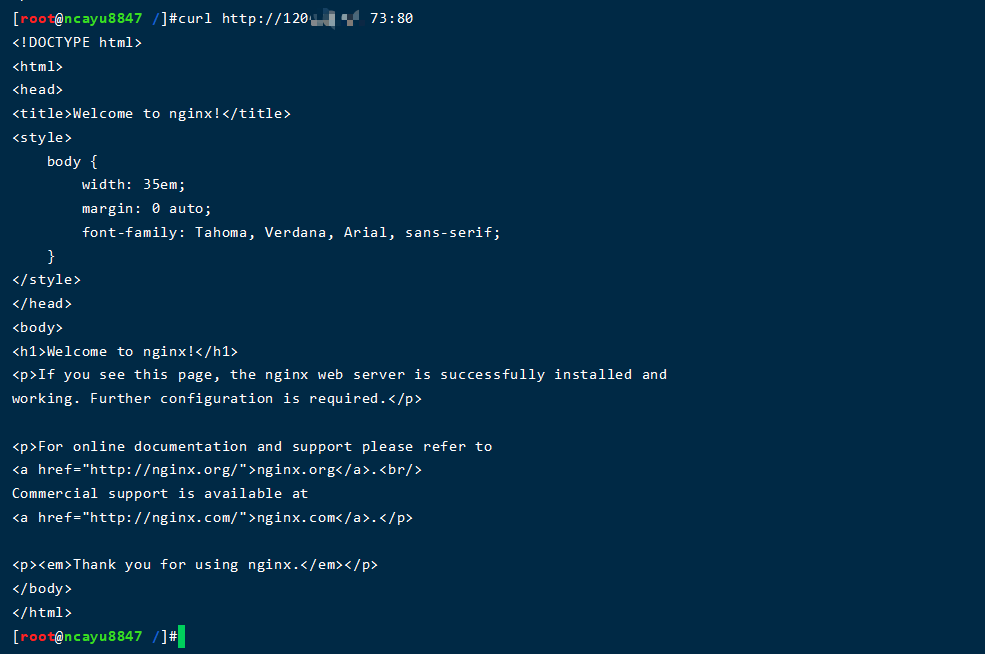
[root@ncayu8847 /]#curl http://IP地址:80
<!DOCTYPE html>
<html>
<head>
<title>Welcome to nginx!</title>
<style>
    body {
        width: 35em;
        margin: 0 auto;
        font-family: Tahoma, Verdana, Arial, sans-serif;
    }
</style>
</head>
<body>
<h1>Welcome to nginx!</h1>
<p>If you see this page, the nginx web server is successfully installed and
working. Further configuration is required.</p>

<p>For online documentation and support please refer to
<a href="http://nginx.org/">nginx.org</a>.<br/>
Commercial support is available at
<a href="http://nginx.com/">nginx.com</a>.</p>

<p><em>Thank you for using nginx.</em></p>
</body>
</html>
欢迎页面 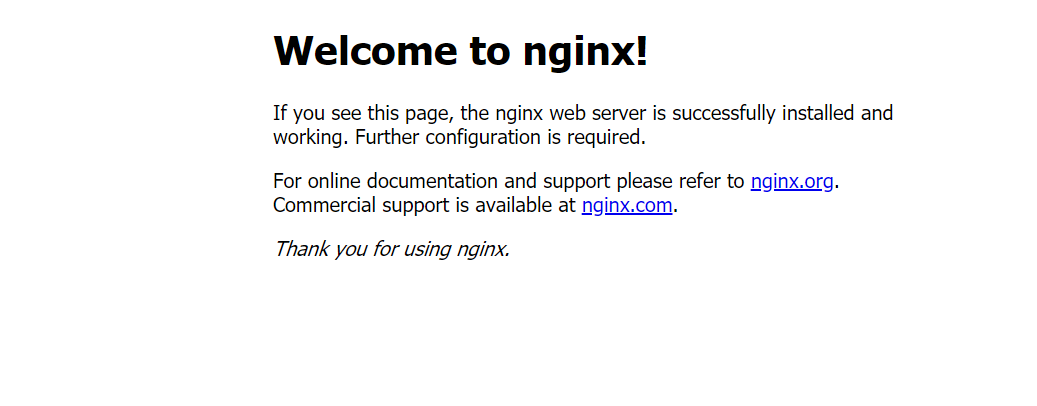
nginx默认log日志路径
/usr/local/nginx/logs
日志文件如下:
[root@localhost logs]# ll
总用量 12
-rw-r--r--. 1 root root 1651 8月  19 16:19 access.log
-rw-r--r--. 1 root root  255 8月  19 16:19 error.log
-rw-r--r--. 1 root root    5 8月  19 16:15 nginx.pid
[root@localhost logs]# pwd
/usr/local/nginx/logs
其实nginx还有很多的配置,这样编译只是满足日常的使用。

 拉大锯 回复 @断点-含光君


