领券联盟-前端版本-PowerByNuxt.js-项目创建
我们开发工具使用WebStorm
这个自行解决啦!
开发环境搭建
安装Node.js
我们安装好node.js以后,就用npm了。npm是node package manager
node.js是啥呢?
以前呢,js只运行在客户端,也就是我们常说的浏览器,去解析js,因为浏览器里有js解析引擎。
现在呢,把这个引擎的核心部分抽取出来,放到了服务器里,也就是说在服务器里也能执行js代码了。
官方原文:
Node.js® 是一个基于 Chrome V8 引擎 的 JavaScript 运行时。
官方地址:
我们需要npm来下载/管理各种依赖的库,比如说webpack,axios...
相关文章请参考
创建nuxt.js项目
按步骤走就好
这里面我们推荐大家使用模版,更加快速方便,减少出错
下载下来以后解压
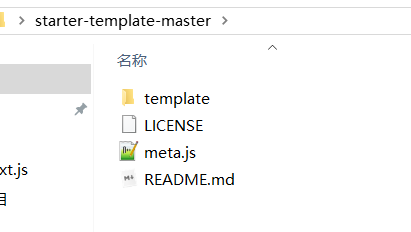
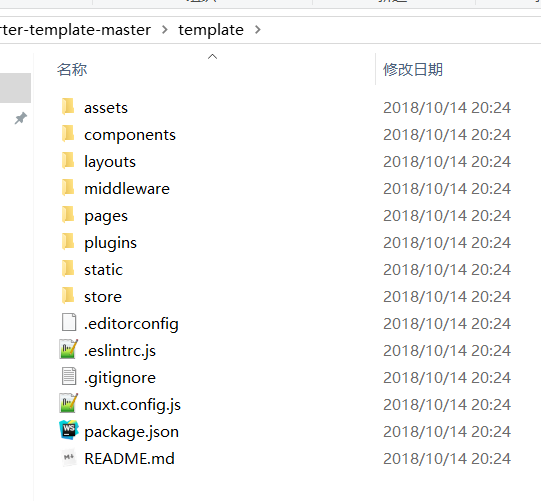
我们需要的就是这个模版,然后创建一个项目名,把模版里的内容都复制到所创建的项目里。
我这里如下:

安装依赖库
解压完-->放到对应的文件夹--->webstorm打开
提示你安装
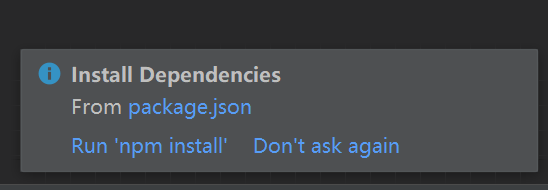
你可以点击安装,或者我们可以通过命令行窗口使用cnpm进行安装,使用国内的仓库速度会比较快一点。

安装完毕:

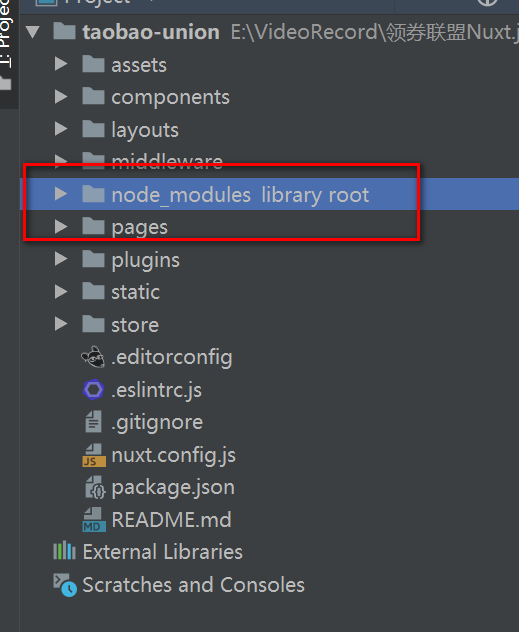
最后这个则是下载下来的依赖库了。
横向对比学习
跟我们android开发对比一下吧
我们的gradle就是构建工具,依赖各种包。而这里则是使用webpack进行构建,使用npm进行包的管理
我们下载的依赖库,跟android是一样的呀,android也有各种依赖库呀。
目录结构说明
同学们可以参考一下官方网站
这里给出链接
修改配置文件
这个呢是我们的配置文件nuxt.config.js
原文件:
module.exports = {
  /*
  ** Headers of the page
  */
  head: {
    title: '{{ name }}',
    meta: [
      { charset: 'utf-8' },
      { name: 'viewport', content: 'width=device-width, initial-scale=1' },
      { hid: 'description', name: 'description', content: '{{escape description }}' }
    ],
    link: [
      { rel: 'icon', type: 'image/x-icon', href: '/favicon.ico' }
    ]
  },
  /*
  ** Customize the progress bar color
  */
  loading: { color: '#3B8070' },
  /*
  ** Build configuration
  */
  build: {
    /*
    ** Run ESLint on save
    */
    extend (config, { isDev, isClient }) {
      if (isDev && isClient) {
        config.module.rules.push({
          enforce: 'pre',
          test: /\.(js|vue)$/,
          loader: 'eslint-loader',
          exclude: /(node_modules)/
        })
      }
    }
  }
}
以下我加一下注释和修改一下相关内容
大概这么改一下,这个配置是全局的,后面我们可以到各个页面动态配置。
module.exports = {
  /*
  ** Headers of the page
  */
  head: {
    /*标题,也就是显示在标签标题,一般动态显示*/
    title: '阳光沙滩-淘宝联盟商城',
    meta: [
      { charset: 'utf-8' },
      { name: 'viewport', content: 'width=device-width, initial-scale=1' },
      { hid: 'description', name: 'description', content: '这里是网站描述,对应着SEO里的description ' },
      { hid: 'keywords', name: 'keywords', content: '这是关键字,android,java,Nuxt.js' }
    ],
    link: [
      { rel: 'icon', type: 'image/x-icon', href: '/favicon.ico' }
    ]
  },
  /*
  ** Customize the progress bar color
  */
  loading: { color: '#3B8070' },
  /*
  ** Build configuration
  */
  build: {
    /*
    ** Run ESLint on save
    */
    extend (config, { isDev, isClient }) {
      if (isDev && isClient) {
        config.module.rules.push({
          enforce: 'pre',
          test: /\.(js|vue)$/,
          loader: 'eslint-loader',
          exclude: /(node_modules)/
        })
      }
    }
  }
}
package.json
这个配置文件可以说是用于管理我们的包,里面有作者信息呀,项目描述,还有项目相关的依赖
{
  "name": "{{ name }}",
  "version": "1.0.0",
  "description": "{{ description }}",
  "author": "{{ author }}",
  "private": true,
  "scripts": {
    "dev": "nuxt",
    "build": "nuxt build",
    "start": "nuxt start",
    "generate": "nuxt generate",
    "lint": "eslint --ext .js,.vue --ignore-path .gitignore .",
    "precommit": "npm run lint"
  },
  "dependencies": {
    "nuxt": "^2.0.0"
  },
  "devDependencies": {
    "babel-eslint": "^10.0.1",
    "eslint": "^4.19.1",
    "eslint-friendly-formatter": "^4.0.1",
    "eslint-loader": "^2.1.1",
    "eslint-plugin-vue": "^4.0.0"
  }
}
修改以下:
{
  "name": "项目名称",
  "version": "1.0.0",
  "description": "项目描述",
  "author": "作者名称",
  "private": true,
  "scripts": {
    "dev": "nuxt",
    "build": "nuxt build",
    "start": "nuxt start",
    "generate": "nuxt generate",
    "lint": "eslint --ext .js,.vue --ignore-path .gitignore .",
    "precommit": "npm run lint"
  },
  "dependencies": {
    "nuxt": "^2.0.0"
  },
  "devDependencies": {
    "babel-eslint": "^10.0.1",
    "eslint": "^4.19.1",
    "eslint-friendly-formatter": "^4.0.1",
    "eslint-loader": "^2.1.1",
    "eslint-plugin-vue": "^4.0.0"
  }
}
运行项目
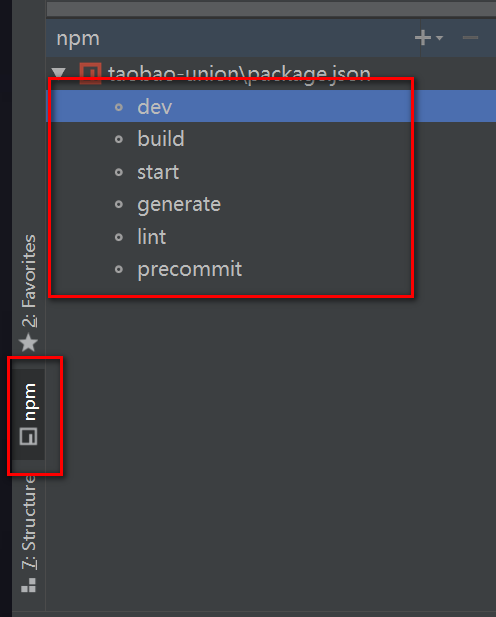
我们点击IDE侧边的tab,npm,就可以看到如上图了
聪明的你一定发现了
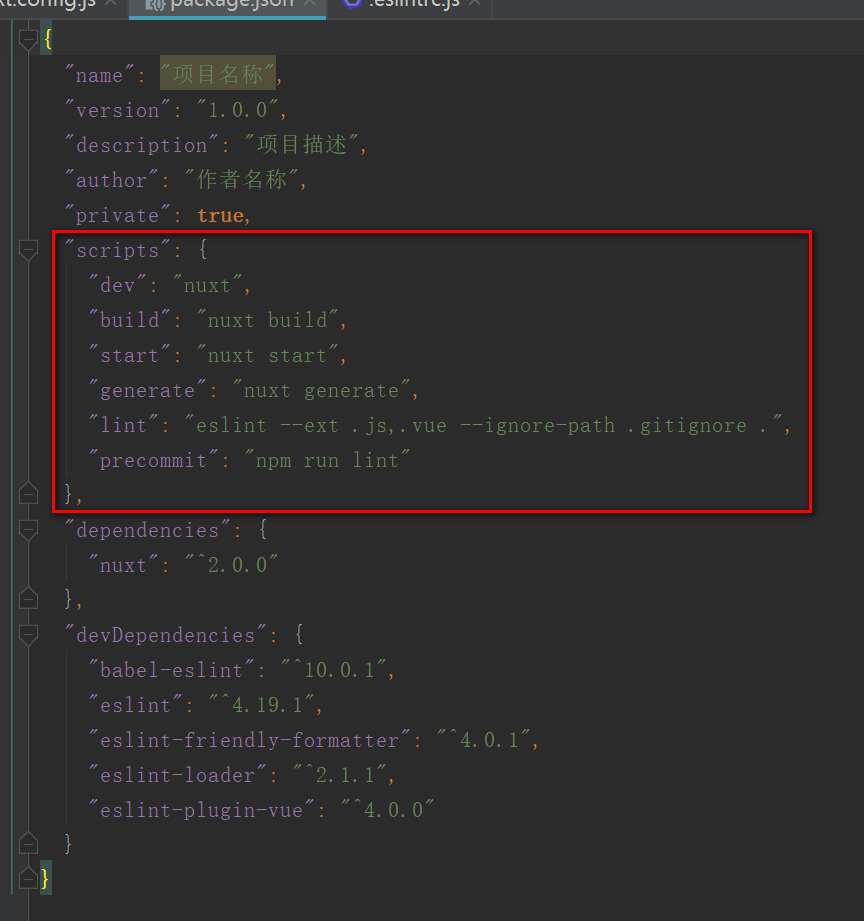
其实这个指令是对应着一条命令的
比如说 - dev--> nuxt - build ---> nuxt build
这样子可以简化我们的操作
我们双击dev
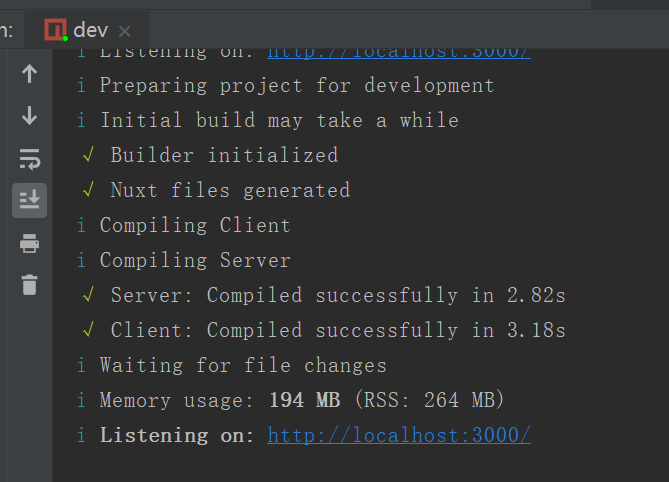
点击链接,在浏览器打开了,如下
到这里,我们这个项目就创建好了。


